866.509.4482

Call for a consultation!

866.509.4482

Call for a consultation!

Search

Gluten-Free School Science Fairs Part 5: Cleaning up!

Are common household sponges a

source of gluten cross-contact?


Continuing Emport’s collection of Science Fair experiments.

Shared kitchens can present challenges in any setting, from home use to food service to manufacturing facilities employing thousands of people.

Accidental exposure to gluten by cross-contact can occur from surfaces, and even from the equipment that was used. One common household culprit: the sponge!

You can confirm whether your normal cleaning routine is spreading gluten or not with the following GlutenTox Home science experiment. This is a great science fair project for students at home, or for anyone who is a curious student at heart.

Make sure to read through the tips for successful testing!

The Big Question

Does a sponge used in a gluten-inclusive kitchen contain or spread gluten to gluten-free surfaces and foods?

There are two ways to prove the potential risk of using shared equipment; testing the rinsewater, and testing the sponge itself.

What you’ll need

But, are those cookies really gluten free?
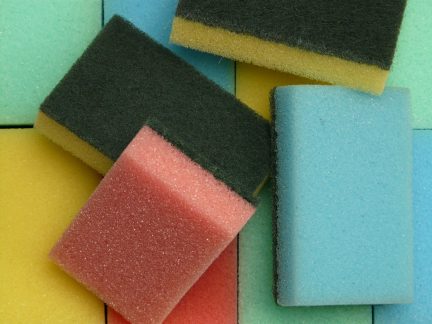
A sponge used to clean kitchenware/counters that are exposed to gluten. If your home is gluten-free, your best source would be a neighbor. 

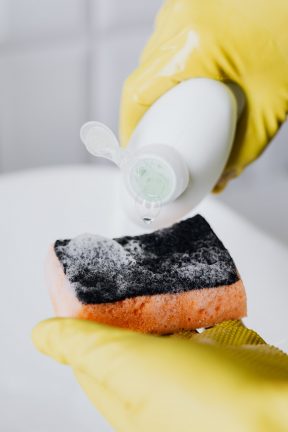
Ask your neighbor to let you have their sponge (or use your own sponge) right after it’s been used on a surface that was used to prepare food that contains gluten. Make sure the sponge has not been rinsed out at all.

  • used sponge
  • a collection bag
  • disposable vinyl gloves
  • a clean container to collect water
  • Enough GlutenTox Home tests to conduct 5 tests

Stay safe! When you collect your sample at your neighbor’s house, and while you are conducting tests outside your home:

  • Wear a protective face covering when visiting your neighbors.
  • Wear a pair of disposable gloves while collecting and testing.
  • Make sure to wash your hands.

Method

The following steps are a suggestion, but feel free to modify the experiment in whatever way you’d like.

Step 1

Collect a recently-used sponge from your neighbor (or your own kitchen). Ideally, the sponge will have been used to wipe down a cutting board, pot, or countertop that was just used to prepare gluten-containing foods. Make sure that the sponge has not been rinsed after use.

Step 2

Place the sponge in your collection bag. This should be a clean, resealable plastic baggie.

Step 3 (optional):

Test the surface of the cutting board. This will establish whether or not the surface was adequately cleaned and is free of gluten residue. Contact us for guidance on surface testing with GlutenTox Home.

Step 4:

Test the sponge! With a clean pair of scissors, snip off some of the sponge. Use the spoon that comes in your GlutenTox Home kit and try to get approximately two spoonfulls of sponge. It’s best if the sponge is cut into a few pieces. Follow the directions for testing solids.

Step 5:

Test the rinsewater! Fill your small container with water and immerse the sponge. Make sure it’s thoroughly saturated, and then wring it out and test the water. Follow the directions for testing liquids. 

Step 6 (optional):

Test additional variables (see below).

There are a lot of variables that can be explored.

Our experiment outline just covers two possible scenarios. You can generate your own outline by asking questions, and outlining how to test the premise. For instance:

  • Do different types of sponges affect the outcome in the rinsewater?
  • If a sponge retains some gluten, does the gluten transfer to a surface?
  • Does different types of cleaning agents affect the outcome?

Tips for successful testing!

  • We suggest you test for gluten at the lowest threshold of 5ppm. Most importantly, be consistent with the threshold you choose for all your tests.
  • Prepare your samples carefully and organize all your materials before you begin!
  • It’s important to analyze the test strips promptly at 10 minutes. After that, results can appear to shift: faint positives can fade or appear, and strong positives will fade a bit over time.
  • Taking a picture of the test strips at the ten minute mark is a great way to document your findings.
  • If you want to repeat the experiment, you’ll need to plan for purchasing additional tests.

We always love learning about other ideas for gluten-free science fair projects; please feel free to contact us any time to discuss your student’s plans for his or her own gluten-free experiments. We may be able to troubleshoot or provide suggestions on how to structure the experiment for maximum gluten-free learning.

If your child has already completed his or her project, we’d love to see it! Email us details if you’d like your child to be considered for a spot as a featured guest blogger on our site.

GlutenTox Home

Need to test for gluten at home?

Commercial-quality, user-friendly. Clear results in less than 20 minutes.

Share this post